The Hidden Chain Reaction Beneath Your Seat
A crooked rider is not always easy to identify from the arena fence. The horse may continue forward, the rider may appear upright, and the saddle may look centred before the first transition. Yet a small lateral pelvic tilt, where one seat bone sits lower or carries more weight than the other, can create a chain reaction through the entire riding system. The imbalance may show itself only as a saddle that creeps sideways, a horse that falls through one shoulder, or a persistent difference in rein contact.
The mechanical link is straightforward. When the pelvis drops on one side, the rider’s weight moves away from the midline. The lower stirrup bar then receives a stronger downward and often slightly outward or inward force. Because the stirrup leather hangs from the bar below the tree, that force can create rotational torque rather than simple vertical support. The saddle is asked to resist a twist while the horse’s back is moving underneath it. Repeated over many sessions, this can alter flocking, stress stitching and hardware, and reinforce the very crookedness that started the problem.
A saddler must separate horse-induced asymmetry from rider-induced distortion before changing the flocking. A horse with uneven musculature, a developing back problem, or a crooked way of going can load one panel more heavily. Equally, a rider with limited hip rotation, a stiff ankle, or habitual bracing can create the uneven pattern. The useful diagnostic journey therefore begins with the saddle on a level bench, continues with the horse standing square, and ends with observation and pressure assessment while both horse and rider are moving.
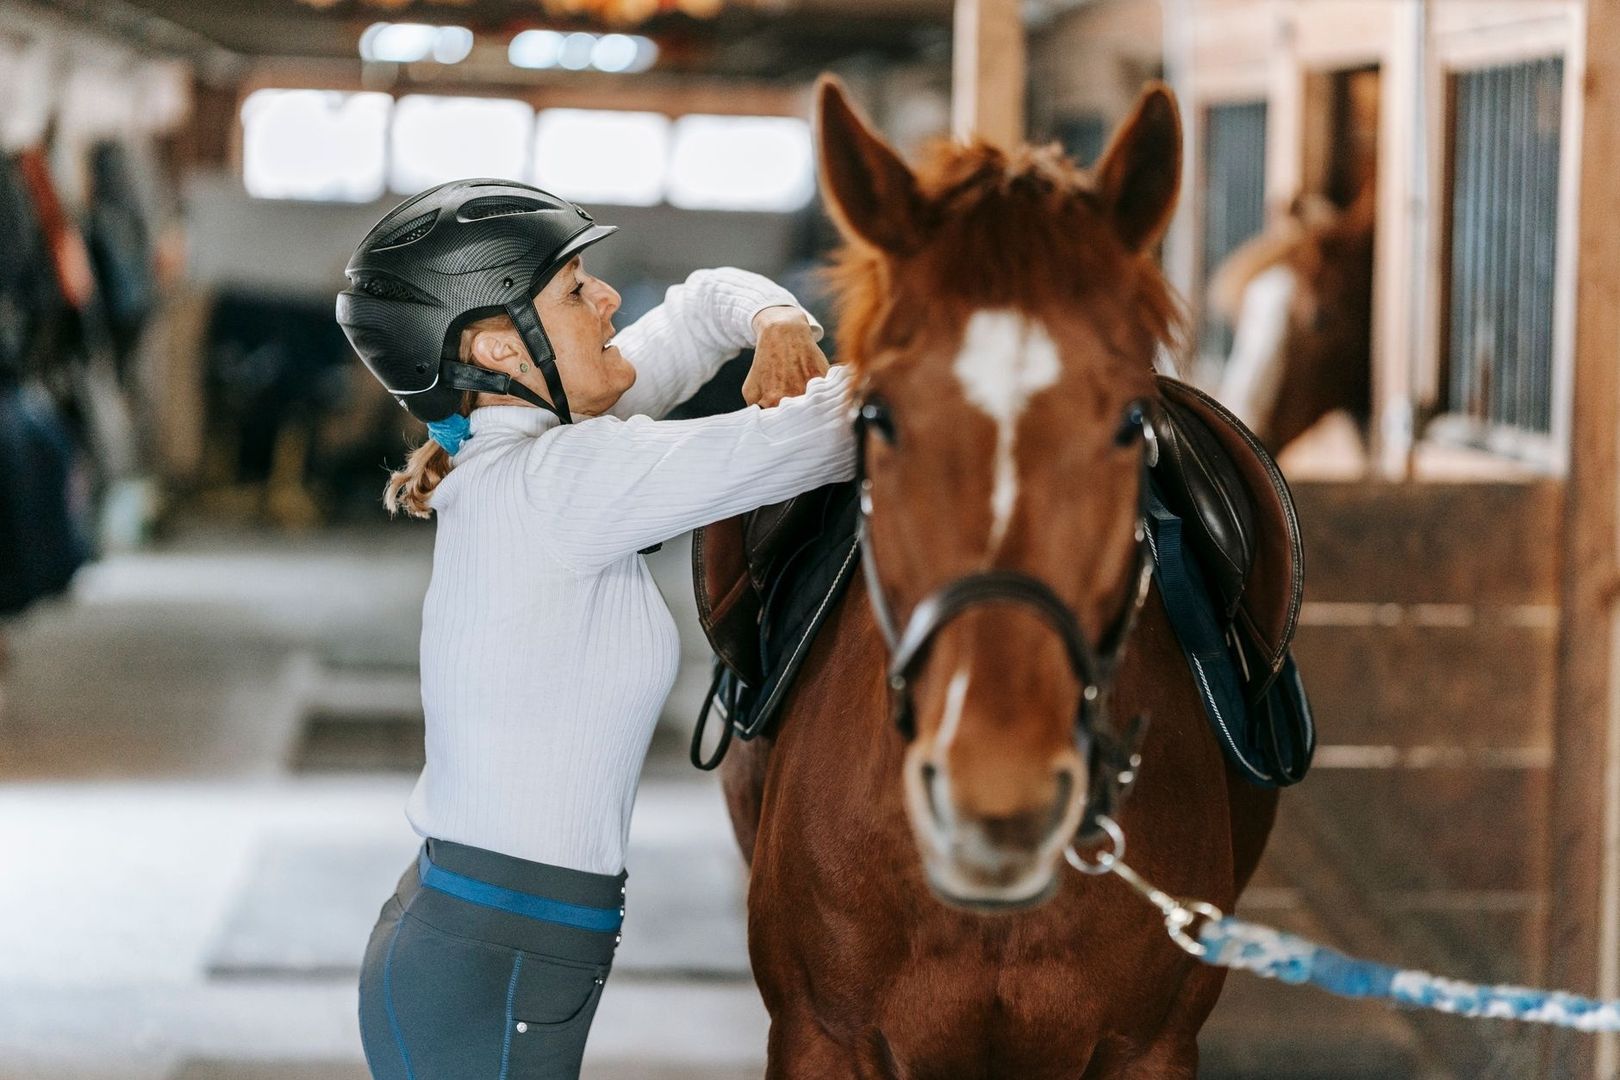
- Check the rider’s pelvis, torso, thighs, knees, ankles, and stirrup leathers as one connected system.
- Compare the saddle’s tree, panels, flocking, billets, and girth position before making adjustments.
- Assess the horse in hand and ridden, because movement can reveal restrictions hidden during a static fitting.
Biomechanical Cascades from Pelvis to Stirrup Bar
Lateral pelvic tilt changes the point at which the rider’s mass enters the saddle. In a neutral seat, both seat bones contribute to a broad, balanced contact, while the pelvis remains able to follow the horse’s movement. With a tilt, the lower seat bone becomes a focal pressure point. The opposite side may lose contact or remain present only through compensatory tension in the thigh and lower back. Pressure is not simply increased on one side; it is concentrated into a smaller area and transferred through the saddle’s panels into the horse.
The stirrup bar magnifies this effect. A rider who loads one stirrup more heavily may use the iron as a prop, especially when attempting to hold the torso upright. The resulting downward vector is rarely perfectly vertical. It can pull the leather toward the rider’s stronger or shorter side, twisting the saddle tree laterally and encouraging the saddle to migrate. This is why forcing both heels down is not a reliable correction. A braced ankle often pushes the lower leg forward and makes the rider depend more heavily on the stirrups, rather than allowing the pelvis and hip joints to absorb movement.
Research on rider stability shows why saddle design and rider loading must be considered together. In a controlled comparison involving one professional rider and five dressage horses, a pressure mat recorded the centre of pressure across different gaits and saddle types. The flapless saddle produced smaller mediolateral centre-of-pressure movements than the conventional saddle. The result does not mean a flapless saddle corrects a crooked rider, but it demonstrates how contact, thigh position, and saddle structure influence stability. The full study, Comparison of rider stability in a flapless saddle versus a conventional saddle, is useful background when considering how pressure vectors affect saddle movement.
| Rider pattern | Likely saddle effect | What to verify |
|---|---|---|
| Symmetrical pelvis with relaxed joints | More even panel loading and reduced lateral torque | Equal seat-bone contact, centred saddle, comparable stirrup length |
| One hip dropped and one stirrup heavily loaded | Twisting through the bar, leather and tree | Stirrup alignment, bar position, rider balance without gripping |
| Torso upright through bracing | Concentrated pressure under one seat bone and possible saddle drift | Pelvic orientation, thigh tension, ability to ride briefly without stirrups |
These findings should be interpreted carefully. Pressure-mat studies often involve small samples and controlled conditions, so they do not provide a universal formula for every horse and rider. They do, however, support a practical workshop principle: a saddle cannot be judged only by whether it looks straight at rest. Dynamic centre-of-pressure movement, rider stability, and the horse’s freedom of movement all matter.
How Uneven Seat Pressure Restricts the Equine Ribcage
The horse’s thoracic sling helps support and suspend the trunk between the forelimbs. Muscles and connective tissues around the chest, shoulder and ribcage allow the horse to lift the trunk, move the scapulae, and bend through the body. During straight movement, both sides need room to expand and contract. In lateral work and turns, the ribcage must also adapt to the bend while the horse maintains rhythm and balance.
When a rider consistently loads one side, the saddle panel can press more firmly into the tissues beside the spine. Flocking compressed against the trapezius or latissimus dorsi may create a firm, localised bearing surface. The opposite side can lose meaningful contact, causing the saddle to rock rather than distribute load. This is not a simple matter of adding more wool to the hollow side. If the rider continues to produce the same torque, the new flocking will be compressed into another uneven pattern.
A horse may respond defensively by shortening the stride, stiffening the back, or avoiding the side that feels restricted. Stepping under with the hind leg can become difficult when the horse is trying to protect the ribcage and shoulder. Some horses hollow the back, raise the head, or lean away from the pressure. Others become quiet but crooked, drifting through corners or dropping one shoulder. The lack of an obvious buck or refusal should not be mistaken for comfort.
- Watch whether the horse drops the same shoulder in both directions or changes the problem with the rein.
- Notice reluctance to bend, uneven transitions, hollow steps, or a repeated tendency to drift through turns.
- Compare the horse’s back before and after work, including heat, sensitivity, muscle tone, and visible saddle movement.
- Have a qualified professional assess pain, lameness, and back health when resistance persists.
A recent narrative review of rider performance and welfare concludes that neutral pelvic orientation, dynamic trunk control, and symmetrical loading are associated with better pressure distribution and equine gait. It also cautions that much of the available evidence is observational and based on small samples. That balance is important: uneven riding can contribute to discomfort and restricted movement, but a full assessment should not assume that every crooked horse is being caused by the rider alone.
Reading the Tack Room Clues in Leather and Wool
The tack room often preserves a record of what happens in the arena. Start with the saddle clean and dry, placed on a stable, level bench. Examine the panels from front to back, feeling for changes in density rather than relying only on appearance. Chronic one-sided compression can leave a shallow indentation, a flattened area, or a firm spot that does not spring back when pressed. Wool flocking may feel packed and unyielding, while a synthetic panel may show a different kind of permanent deformation.
Look closely at both stirrup leathers. One may have stretched more, show deeper hole wear, or sit at a different angle when the irons are placed side by side. Check the billet straps for unequal elongation, creasing, edge wear, and distortion around the stitching. These clues do not prove that the rider is the sole cause, because horses can also load saddles unevenly. They do, however, justify a closer comparison of the rider’s leg position and the saddle’s placement during work.
Localized compression matters beyond the wool itself. Sustained mechanical loading can affect the tissues beneath a pressure point, which is why fitting decisions must be linked to horse welfare rather than appearance. The available clinical literature is worth consulting through the veterinary research archive, where a Checking your browser message may appear before the article loads, although access pages and individual studies must be read carefully before applying findings to a particular horse.
- Confirm the bench is level. Place the saddle without a pad and inspect whether the pommel, cantle, gullet and panels sit symmetrically.
- Compare the tree. Sight down the saddle from front and rear, checking for obvious lateral twist, while remembering that a formal tree assessment may require a qualified saddler.
- Map the panels. Run both hands along corresponding areas, recording firm spots, hollows, uneven depth and changes in flocking resilience.
- Inspect the hanging parts. Compare stirrup bars, leathers, irons, billets and girth alignment for wear or stretching that may indicate repeated asymmetrical loading.
- Repeat the check on the horse. Fit the saddle without assuming the old pad will hide problems, then observe it standing and moving before and after ridden work.
Photographs and notes are useful because gradual change is difficult to remember. Record the date, horse’s condition, saddle position, visible sweat pattern, and any rider comments about balance. A sweat pattern alone is not a pressure map, but paired with palpation, movement assessment, and workshop findings, it can help reveal whether a problem is stable, progressive, or linked to a particular session.
Workshop Solutions and Corrective Mounted Protocols
Reflocking should restore appropriate contact for the horse, not disguise a rider’s persistent pelvic tilt. If wool is added to compensate for the rider dropping onto one side, the panel may initially look improved while the underlying torque remains. The new flocking can then pack down unevenly, reduce clearance, and create a saddle that is comfortable only in one temporary position. Tack changes should be made after the cause has been investigated, not used as a substitute for rider rehabilitation.
Mounted correction begins with awareness rather than force. At halt, allow both seat bones to settle and check that the torso is stacked over the pelvis. A qualified instructor or ground observer can identify whether the head, shoulders, pelvis, knees and feet are forming a consistent line. Gentle exercises such as lifting one arm, lengthening through the tight side, or briefly riding without stirrups under supervision can expose gripping patterns. The objective is not to shove the low hip upward, but to release the muscles that are holding the pelvis in that position.
Stirrup length should be verified by function and geometry, not by counting holes. With the saddle correctly positioned, compare the actual relationship between the rider’s ankle, knee and hip on both sides. In the workshop, a saddler can place the leathers and irons together, check whether the bars are level, and use a square or straightedge reference to identify differences in hanging angle. A rider should be able to carry the leg with a relaxed ankle and weighted heel without pushing the heel down or using the stirrup to brace.
- Arrange a saddle assessment on a level bench, followed by a ridden evaluation.
- Ask a qualified instructor or physiotherapist to assess pelvic mobility, hip rotation, ankle stiffness, and habitual bracing.
- Use short, frequent mounted sessions focused on neutral alignment instead of forcing a correction for an entire ride.
- Recheck the saddle after flocking changes, because the rider’s altered balance may change the way the panels load.
- Monitor the horse for sensitivity, altered stride, resistance, and changes in shoulder freedom.
The strongest remediation plan is coordinated. The saddler checks tree and panel integrity, the instructor rebuilds alignment and feel, and an appropriately qualified bodywork or healthcare professional addresses rider restrictions where needed. The horse may also require veterinary assessment, especially when pain, lameness, or a sudden change in way of going is present. Corrective work should progress from halt and walk to trot, transitions, circles and lateral movements only when the rider can maintain symmetry without gripping or collapsing.
Restoring Symmetry for Long-Term Freedom and Fit
A saddle is an honest mirror of the forces placed through it. Uneven wool, stretched leather, shifted billets, and recurring saddle drift may record a rider habit, a horse asymmetry, or both. The answer is not to blame one side of the partnership, but to identify the mechanical source and prevent the tack from becoming a permanent compensation device. Fit before fashion, function before flash, and horse comfort first remain the reliable workshop rules.
Set a practical review schedule. Inspect the tack monthly during regular training, compare flocking and leather wear at each cleaning, and arrange a professional check whenever the horse changes condition, the rider changes discipline, or the saddle begins to move. Reassess the rider’s alignment after periods of injury, altered footwear, or a break from riding. With careful observation and honest mechanical checks, the pelvis can become more independent, the saddle can remain stable, and the horse can recover the free ribcage and unrestricted stride that make true partnership feel effortless.